2023-01-13 00:22:11burgessgdq
Arduino ESP32 若何 鍵盤節制 伺服馬達


網站架設
影片
伺服馬達接線圖
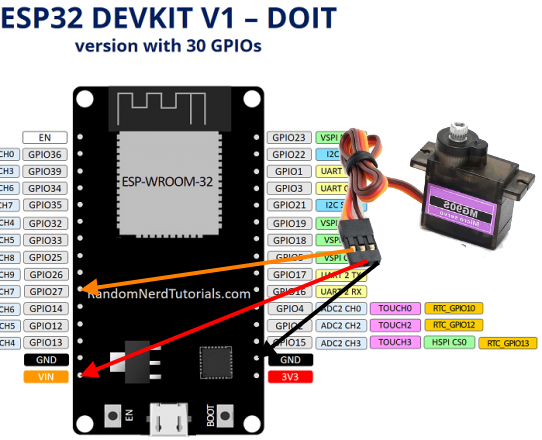

黃線 接 GPIO27 、 紅線 接 5V 、 黑線網站架設 接 GND
ESP32 電力只能鞭策一個馬達,若是要推動兩個馬達就要外接電源了
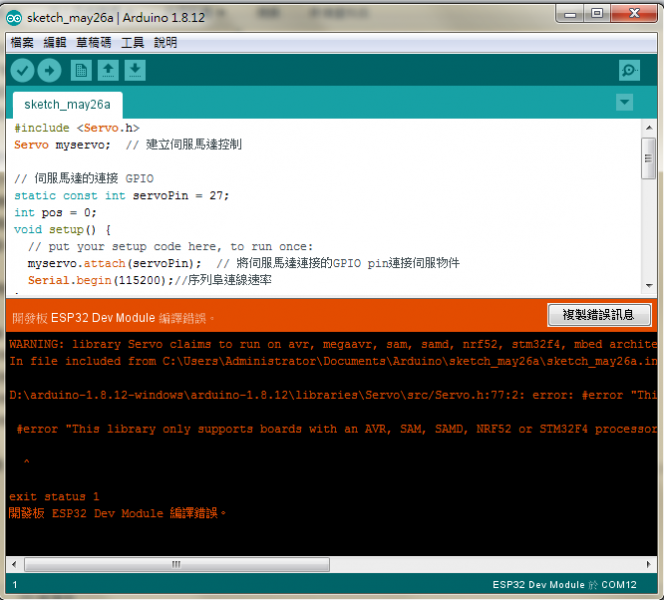
程式碼
解決方式

解壓檔案
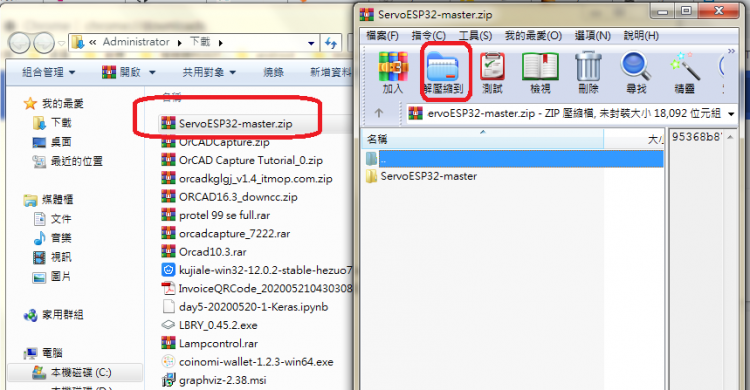

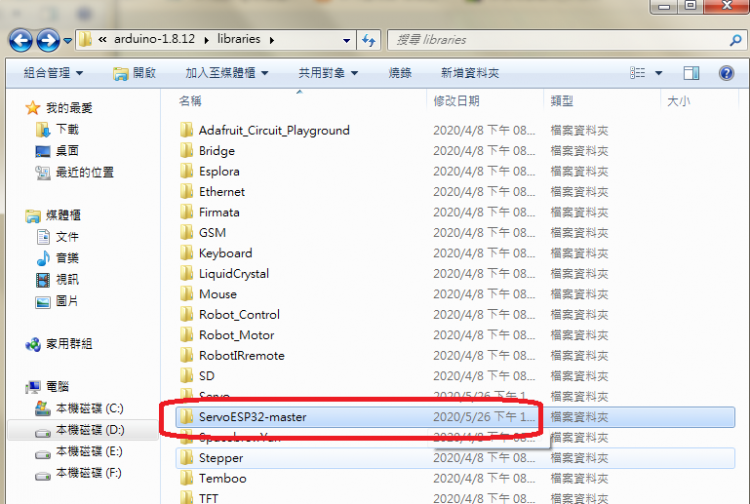
找到arduino 資料夾 libraries 貼上 ServoESP32-master 資料夾 便可
寫入時若是呈現了下方狀態
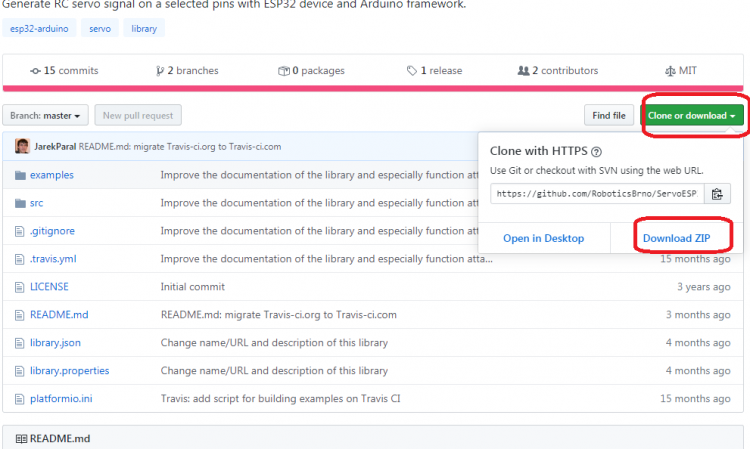
伺服ESP32網址:
https://github.com/RoboticsBrno/ServoESP32
https://github.com/RoboticsBrno/ServoESP32
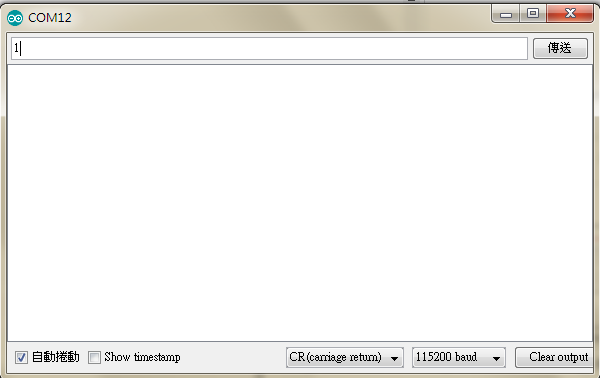
開啟監控視窗
輸入 1 或 2 ,步進馬達就會轉180度
注意!
網站架設
先到打開伺服esp32網址(上方網址)

文章出處:網頁設計,網站架設 ,網路行銷,網頁優化,SEO - NetYea 網頁設計
以下內文出自: